Lately, I’ve noticed a shift in the way I listen to music. Gone are the days of experiencing albums from start to finish. Instead, I’m often at the mercy of YouTube mixes - complete with jarring ads and frustrating buffering any time I lose strong 4G coverage.
I found myself yearning for a simpler time - when I could carry my entire music library in my pocket. But of course, my library is now vastly larger than it was when I was 13, obsessively listening to My Chemical Romance on my 8GB iPod Nano.
What Were My Options? Link to heading
YouTube / Spotify Link to heading
Streaming was immediately off the table. Ads and buffering alone are a dealbreaker. Even if I subscribed to YouTube Music or Spotify Premium, there are too many obscure tracks in my collection that aren’t available on streaming services - not to mention the occasional mainstream gaps in catalogues.
An Old iPod Link to heading
A reasonable choice for some, but not for me. Even the highest-capacity iPods ever made fall short of housing my full collection. Furthermore, iPod Classics - especially the larger ones - have retained their value surprisingly well and remain relatively expensive on the second-hand market.
And then there’s iTunes.
Let’s be honest: iTunes was the worst part of owning an iPod. Why can’t I just drag and drop files like literally every other MP3 player?
A New MP3 Player Link to heading
This seemed promising - until I realized that most modern MP3 players haven’t kept pace with storage demands. Many cap out at capacities not much larger than the original iPods. Sure, no iTunes, but also not enough space.
The Solution: Build It Myself Link to heading
I needed a device that fit my needs without the limitations of traditional options. The answer? Mod an iPod myself. Here’s how I did it.
Step 1: Choosing the Base iPod Link to heading
After some eBay hunting, I picked up a 5.5th generation 80GB iPod Video in rough shape - scratched faceplate, dead battery, the works.
Perfect!
Why this model?
It features the highly regarded Wolfson DAC, praised by audiophiles for its sound quality.
The 80GB version uses the 820-1975 logic board with 64MB of RAM (compared to 32MB in the 30GB model). While debatable whether it makes a real difference, I wanted the extra headroom.
Note: I later completed this mod with a 32MB board and noticed no slowdowns.
The 80GB model has a thicker back case to accommodate a larger hard drive - ideal for the upgrades I had in mind.
The first thing I did was replace the front panel with a clear one I found on AliExpress. While I used this specific iPod, similar mods are possible on other iPod Classic models. Do your research before buying.
Step 2: Upgrading the Battery Link to heading
The original iPod battery was completely dead, so I replaced it with a higher-capacity knockoff. While the original battery was 550mAh, I opted for a claimed 3000mAh unit from AliExpress.
Realistically, it’s closer to 1800mAh based on independent estimates - but still a massive improvement.
The swap was simple thanks to detailed teardown guides on iFixit. Highly recommended.
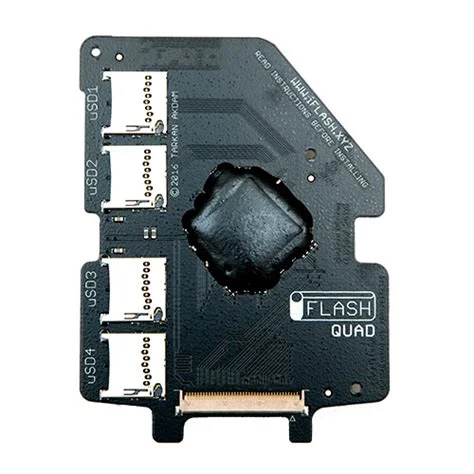
Step 3: Adding Massive Storage with iFlash-Quad Link to heading
Storage was the main limitation, so I installed the iFlash-Quad, an adapter that supports up to four microSD cards in place of the original hard drive. Bonus: it uses less power, runs cooler, and even speeds up the interface.
I installed 4 × SanDisk Ultra 200GB microSDXC cards, bringing my total capacity to 800GB.
Step 4: Ditching iTunes with Rockbox Link to heading
Rockbox is a free, open-source replacement firmware for iPods and other music players.
The biggest win? No iTunes. You can treat your iPod like a normal USB device - just drag and drop files. Here’s a basic script I use to sync music between my library and the iPod:
#!/bin/sh

LIBRARY=${1:-/home/max/Music/}
IPOD=${2:-/media/ipod/Music/}

echo Copying files from $IPOD to $LIBRARY
rsync -av --ignore-existing $IPOD $LIBRARY
echo Successful sync from $IPOD to $LIBRARY

echo Copying files from $LIBRARY to $IPOD
rsync -av --ignore-existing $LIBRARY $IPOD
echo Successful sync from $LIBRARY to $IPOD
You can also find it on GitLab here.
Other benefits of Rockbox:
- FLAC support
- Highly configurable parametric EQ
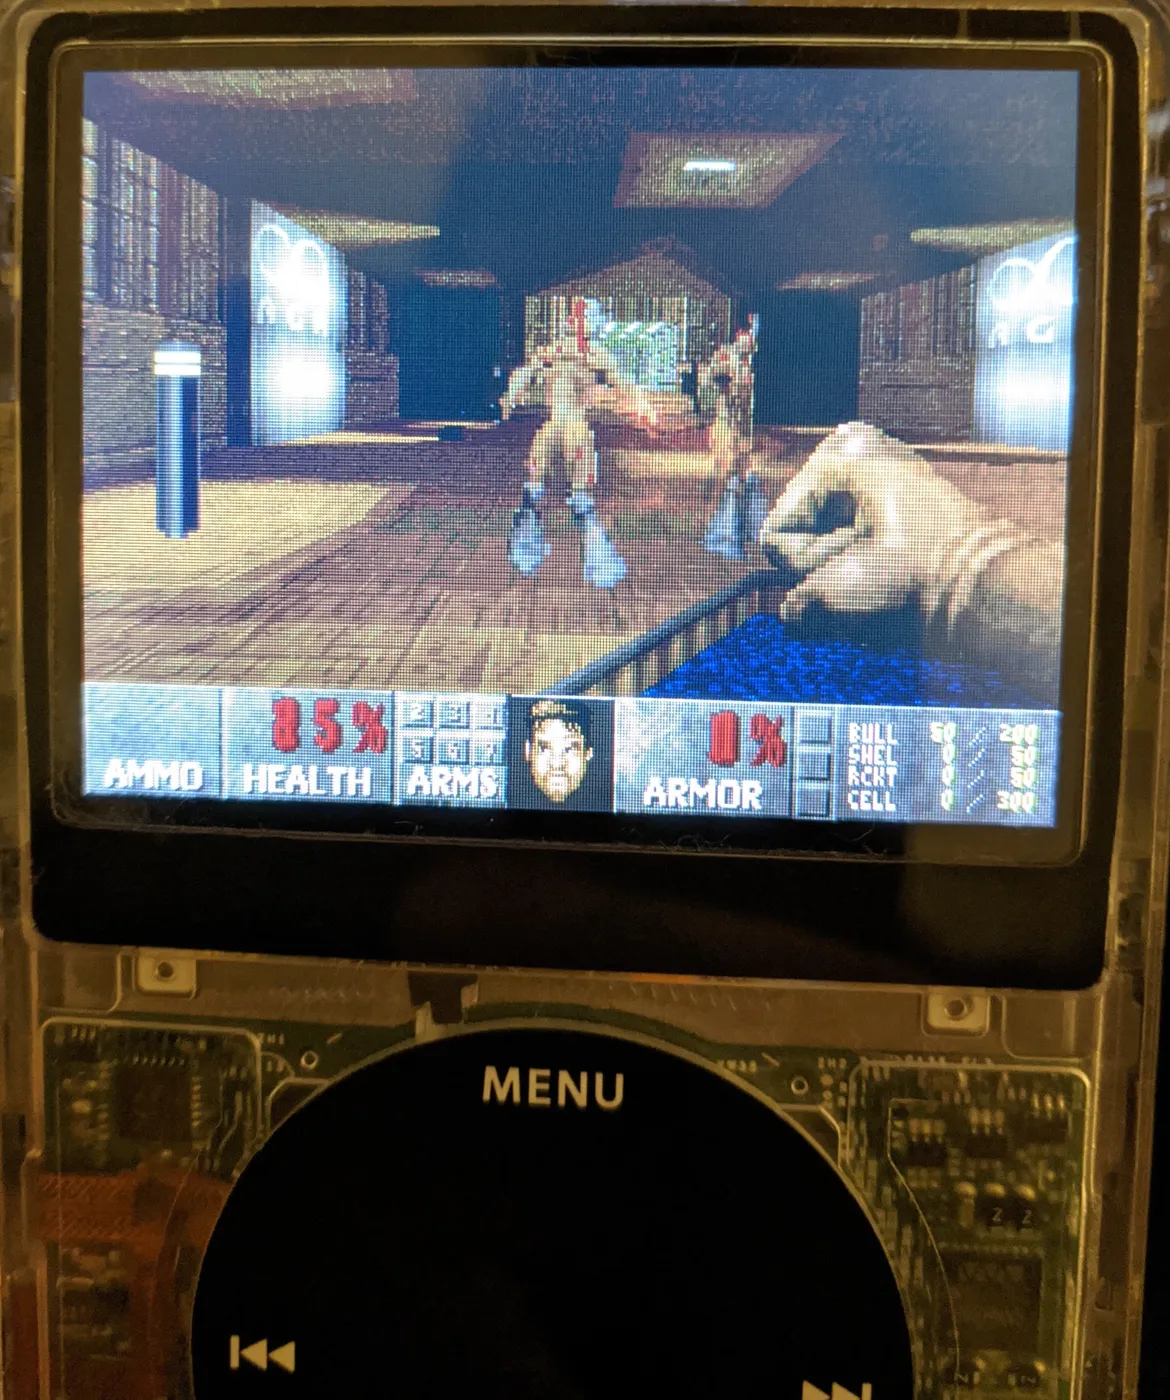
- You can even play Doom on your iPod (!)
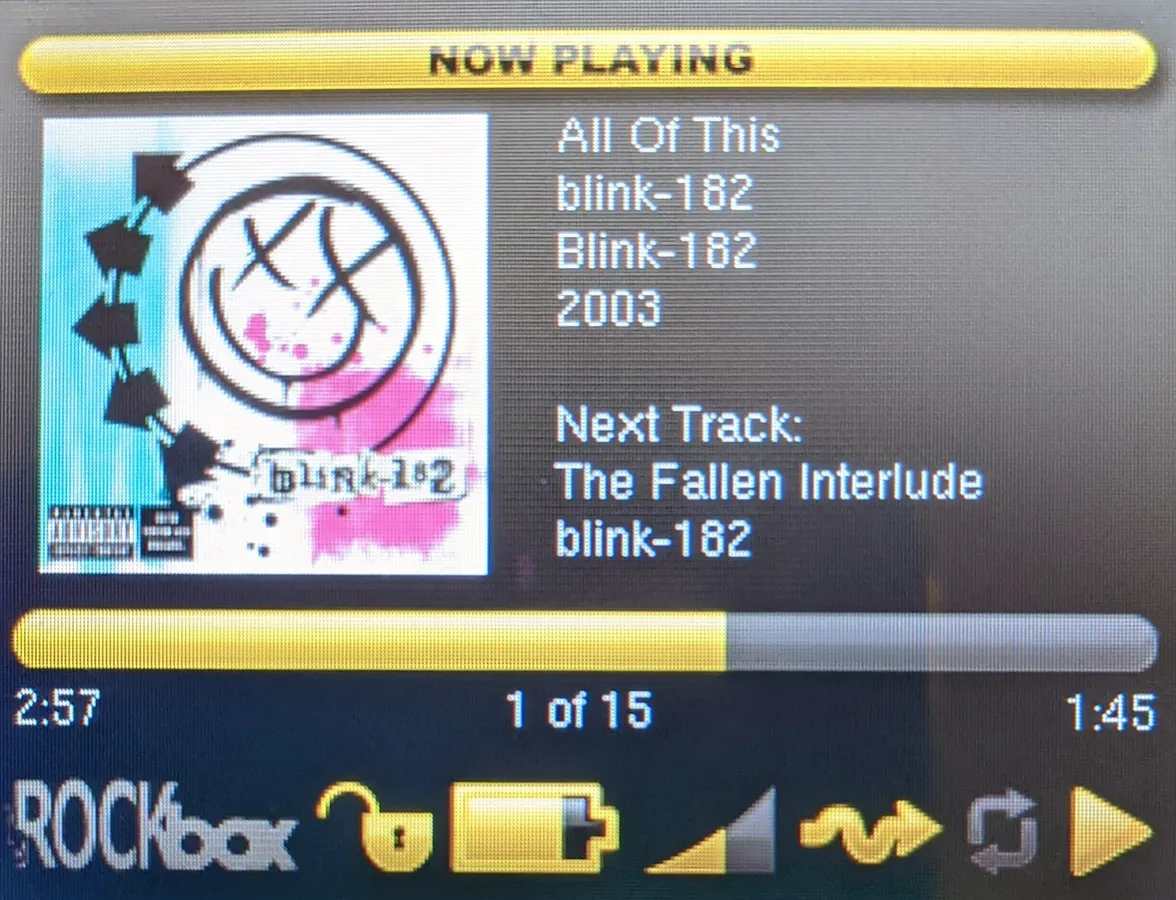
UI Customization Link to heading
Rockbox’s default interface looks like it was designed in the 90s:
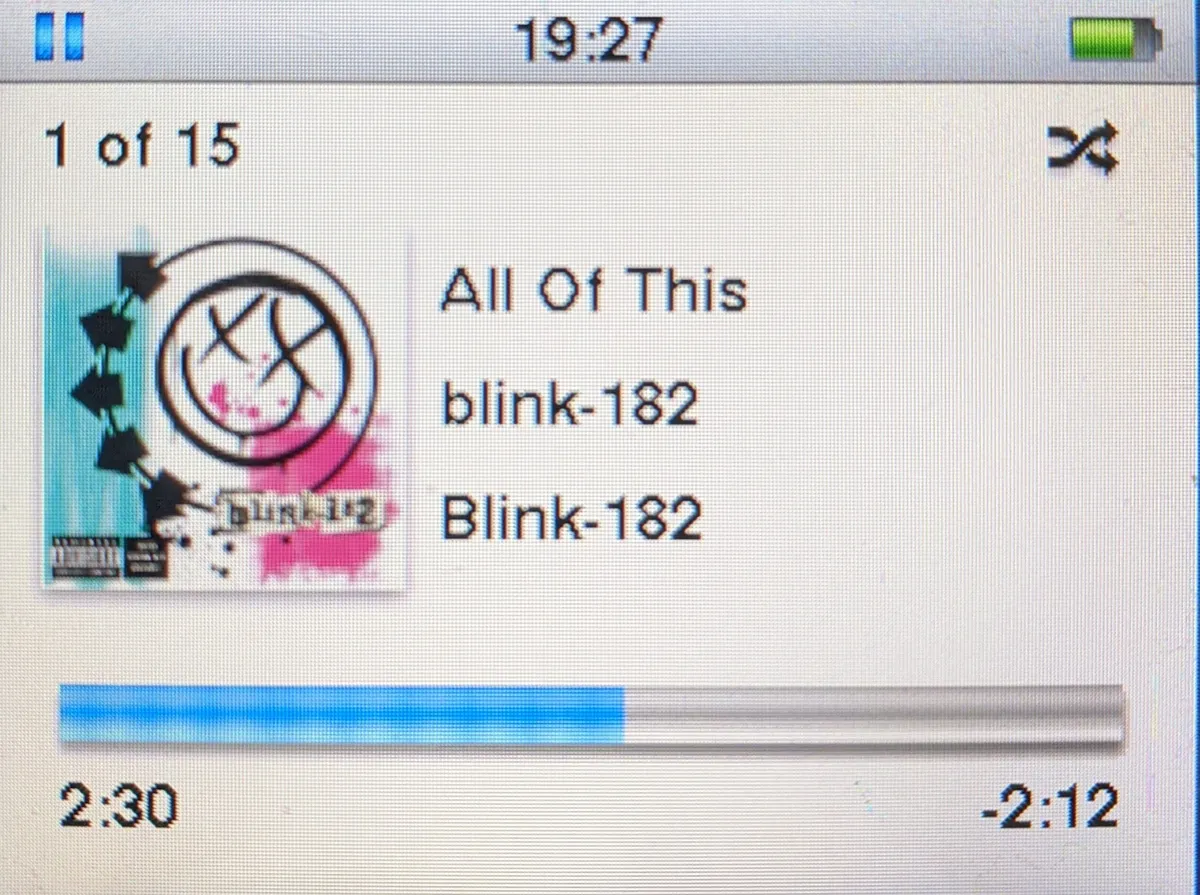
Thankfully, it supports custom themes. If you’re nostalgic for the original iPod UI, there are several clone themes available. I personally use iVideo, but iClassic is another great option.
Aftermath & Known Issues Link to heading
Overall, I love this new setup. It’s freeing to know I can enjoy my full music library without worrying about reception or subscription fees.
That said, I encountered one issue: occasionally a track would skip during playback, and always at the same spot. This happened when I transferred files while Rockbox was running.
Workaround: Transfer music in Disk Mode (hold Center + Play during boot). This fixed the issue completely.

Note: A couple of months after finishing this build, I dropped the iPod onto concrete. It still booted, but audio playback failed. I tried replacing the headphone jack, but it turned out to be the logic board. Replacing it was easier than expected, and the iPod is now fully functional again.
Final Thoughts Link to heading
If you’ve ever wished for a modern, ultra-high-capacity MP3 player without the limitations of iTunes or streaming platforms, this is the project for you.
It’s nostalgic, practical, and highly satisfying to build. Just be careful with concrete floors.